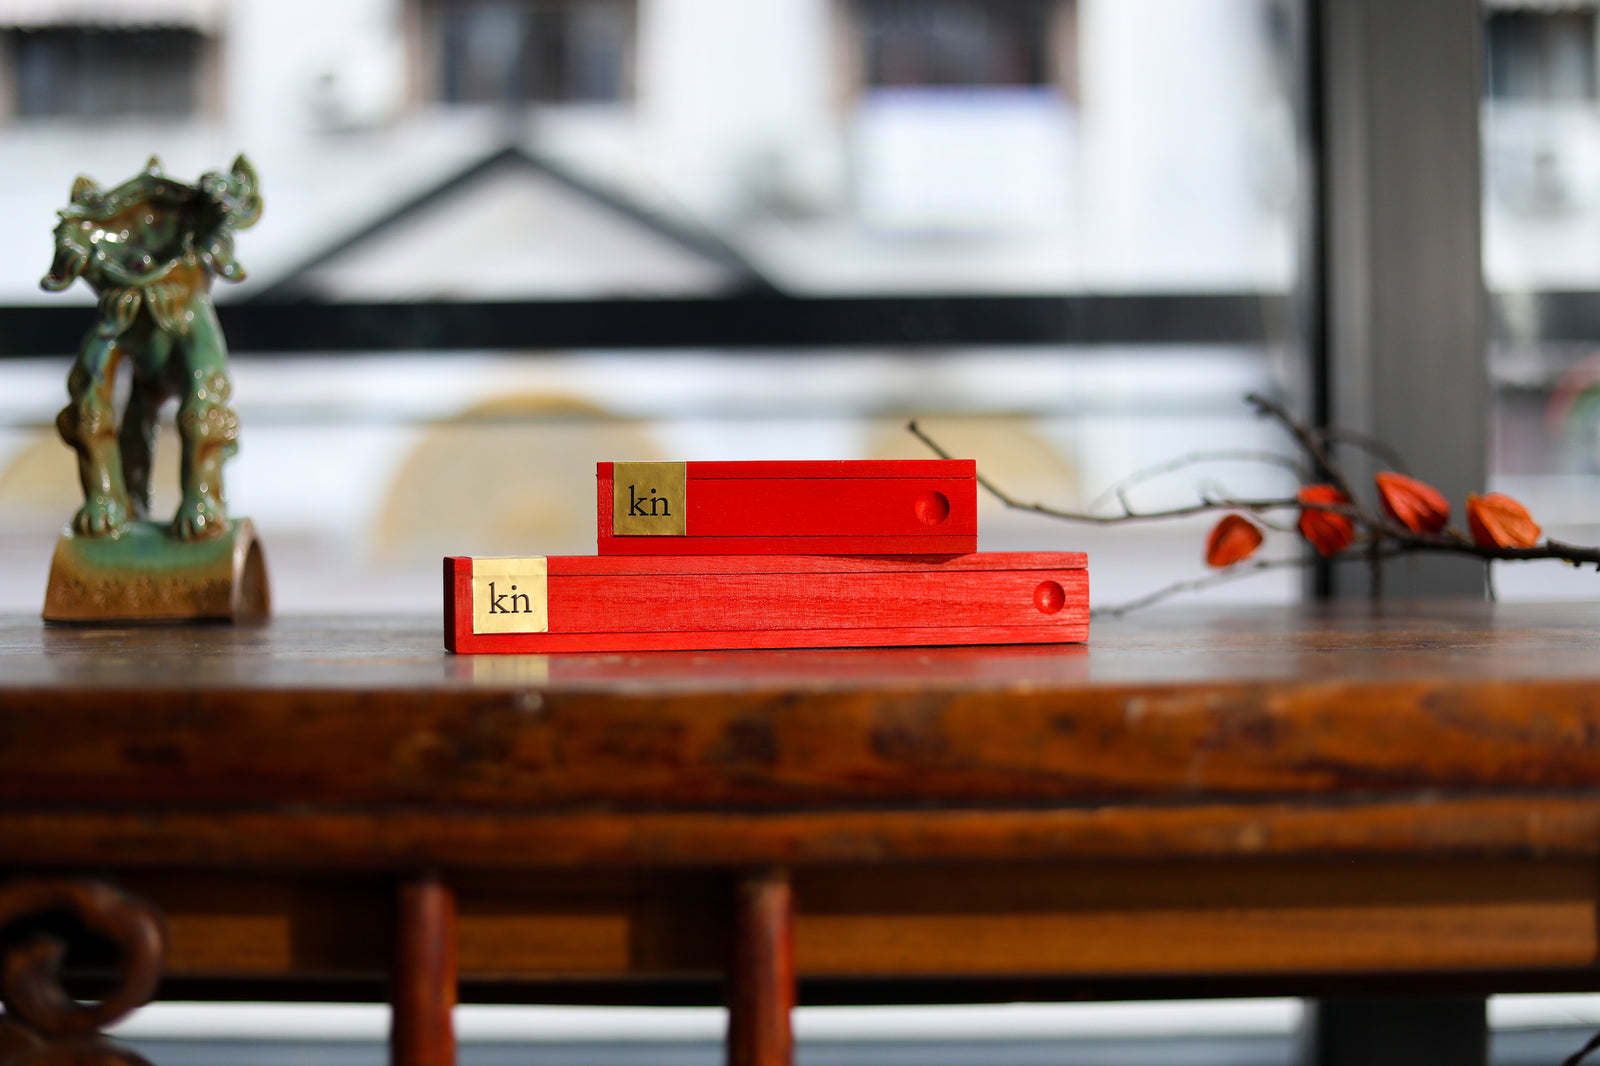
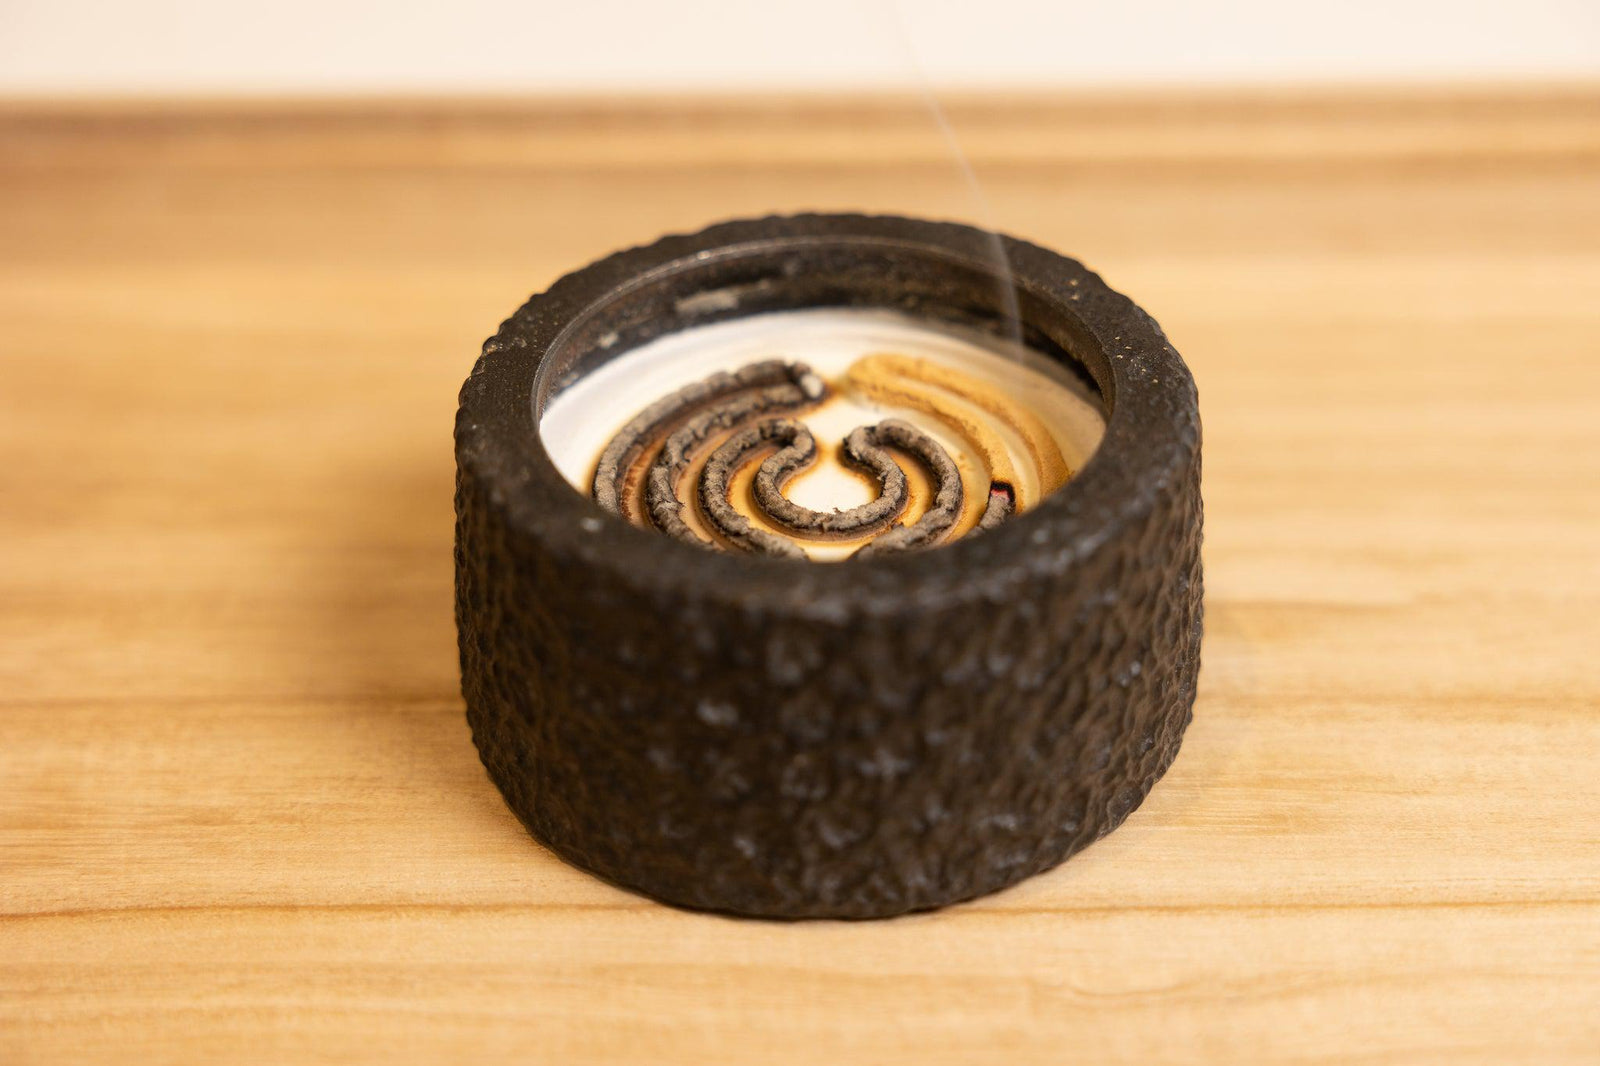
Hand making natural incense sticks has a long history in China. There are records dating back more than 500 years, and it is an art that spread to Japan and beyond. With the launch of the Kin Premium Incense Collection, we’ve put this ancient craft into practice in our own collections.
We’ve spent hundreds of hours learning and honing our skills in this ancient art, and we want to share this with you. In this article, we take you behind the scenes to our studio, and show you how our incense is made.
Hand making something is a truly meditative process, so making incense is doubly so – we enjoy the calm of making the incense, and we enjoy the calm of using the incense. So we welcome you to not only try some incense from our collection, but to also try your hand at making your own incense.
A brief history of the Chinese and Japanese incense sticks
As we’ve written previously, there are two main types of stick incense on the market today: the type with a bamboo center (or core) and the type without. This second type originated in China, and subsequently spread to Japan as well as other East Asian regions such as Vietnam and Korea. It is made entirely of incense powders, so it can achieve a smell that is unobstructed by the bamboo stick, and truer to intentions.
The Chinese style of incense sticks evolved from ancient Chinese recipes of blended powders and balls, and is believed to have been already widespread in China by the 16th century. In this excerpt from the 16th century reproduction of the famous Qingming Scroll , we can clearly see an incense shop with racks of sticks drying on its roof.

Supplies and materials for making natural incense sticks
Please prepare the below items to make your incense sticks:
- Glass or metal bowl
- Metal spoon or chopsticks
- Nanmu powder (otherwise known as Tabu No Ki or Makko powder)
- Various wood, resin, herb or floral incense powders (for beginners, we suggest starting simple: sandalwood and 2-3 other types of powders is enough; use resins such as frankincense or myrrh sparingly)
Essential oils or no essential oils?
Traditional Chinese incense uses powders only, no essential oils. However modern day Chinese incense makers will often experiment essential oils, so you can substitute some powders for oils if you’d like.
What size should the ground powders be?
A note here: we like to ensure that our powdered materials can pass through an 80 mesh screen sieve (0.18mm/0.007”) at minimum, and ideally can pass through 100 mesh screen sieve (0.15mm/0.0049”). While powders more coarse than this can still be used to make incense sticks, we've found that the clumpier pieces can affect the flammability/scent of the final stick, and sometimes also results in more brittle sticks.
How to hand make incense sticks: a step-by-step guide
(Typically we make incense inside our workshop in the studio, but given it’s a bit of a mess in there at the moment with one of Bill’s other projects, we moved all the incense equipment out so we can photograph with a cleaner background.)
UPDATE
This was originally written with only photos, but we have now created a video for those of you who prefer to learn this way. Here is the video, but if you prefer step by step details and guidance, please read on below:
Step 1: Blending natural incense ingredients and makko powder
Every incense starts with the blend. Blending natural incense is a complex and deep topic in itself, so we won't go into too much detail here.
For more information, you can check out our article about incense blends, which also provides a structure to make your own incense recipe.
Typical Chinese incense sticks are either full length at 21cm or 8.25”, or half length at 10.5cm or 4.125”. Japanese incense sticks tend to be shorter, with some at only 1/3 length (7cm or 2.75”), and many ranging from 10-15cm (4.1-6”).
A full length 2mm Chinese incense weighs about 0.45g or 0.015oz. So depending on how many incense sticks and what length you’d like to make, you can calculate how much powdered ingredients to use. Bear in mind though that you won’t get full use out of the dough, and there will always be some left over at the end, so make some allowance for this. 28g/1oz will typically yield me about 40 full length sticks, and I’ll make a few incense cones with the leftover dough.
Once all the natural powders and essential oils have been measured and added together into the bowl, it needs to be thoroughly mixed. We typically use a spoon or chopsticks. The idea is to mix everything until it looks well blended, and then mix some more.

Step 2: Kneading the incense making dough
Add water slowly to the mixed incense powder, and mix thoroughly after each addition of water. We add the water slowly as it is essential that the dough doesn’t get too moist. If it’s too wet, it becomes difficult to handle in the subsequent steps, and it becomes very difficult in the latter stages of the incense making process, where the sticks need to be straightened.

Once the powder forms clumps in the bowl, I tend to start working it with my fingers. This step is probably quite familiar to people who make any type of bread. The dough needs to be kneaded like bread dough to ensure that that it is all bound together and consistent in texture. This is also the stage where any essential oils you've put into the mixture will be really thoroughly mixed.
The dough should be very fragrant at this stage, and I love picking it up to smell it. The aroma of the dough should give you a good idea of how the final incense will smell like, although some more fragrance maturation is yet to happen.

It is also ideal to allow the incense dough to rest for some period of time after the initial kneading. The length of time can vary from a few hours to overnight, but be careful – with all natural incense dough, mold will form if the environment is humid and the dough is left too long.

Step 3: Forming the incense sticks
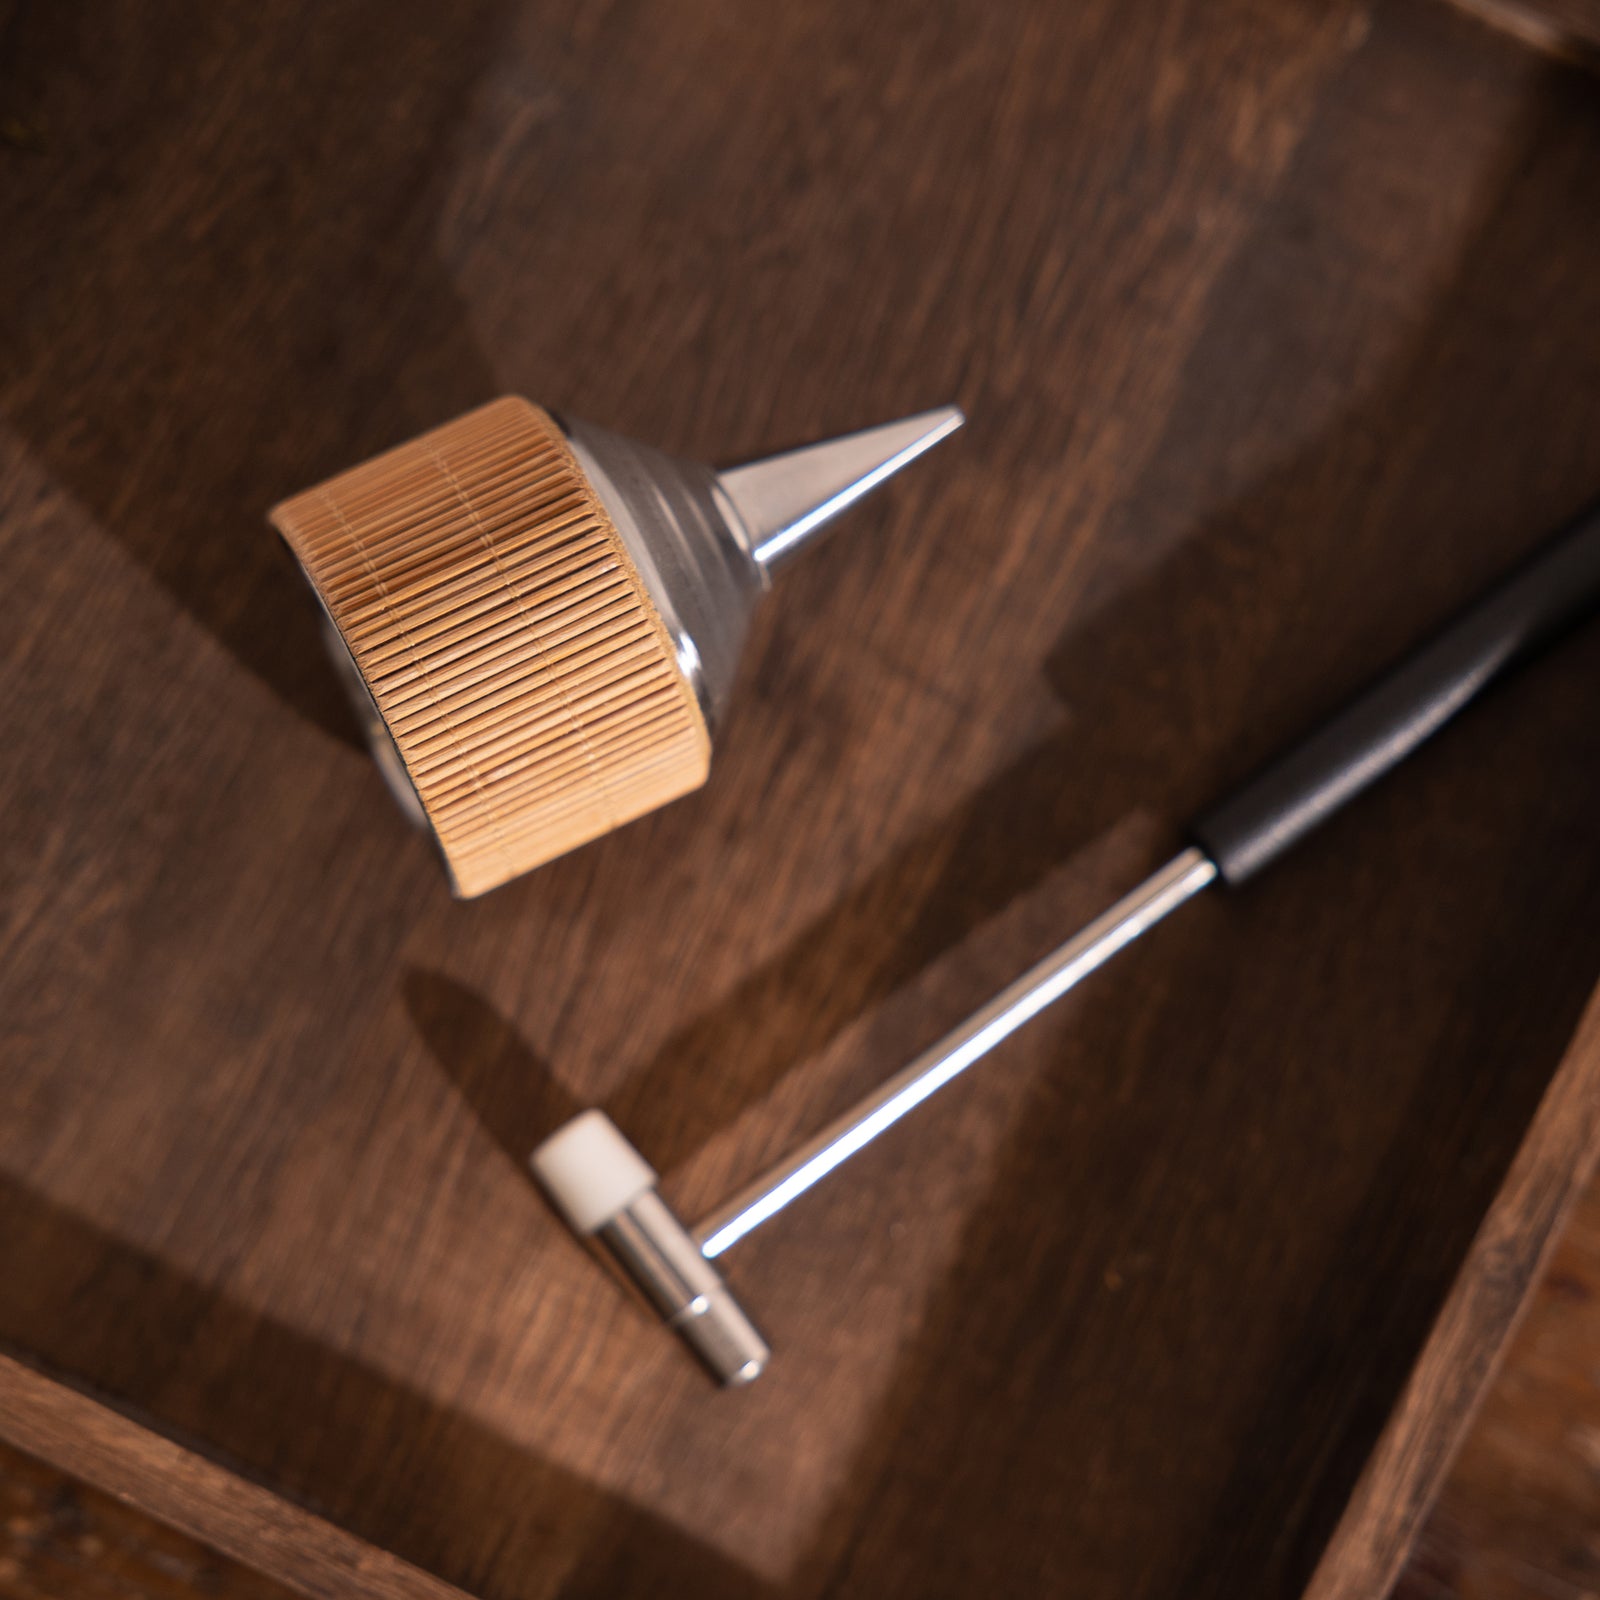
The next step is to form the dough into stick shapes. For small prototype batches, I sometimes hand make the sticks by simply rolling the dough into thin sticks, or use an incense squeezing syringe like below. I would recommend either of these methods if you are just starting your homemade incense journey.

For larger batches, I use our larger incense squeezing equipment like what is shown below:

Regardless of what equipment is used, it will end up becoming long pieces of spaghetti shaped dough. I collect the long pieces using small pieces of wutong wood board, then put them onto our drying screens, where I cut them to the required length. I know some incense makers cut the dough on the wutong board, either way is fine.

Step 4: Straightening and drying the sticks
I have often seen incense teachers teaching students to use a straightening board, where the sticks are held in grooves as they dry, therefore keeping them straight. This tool is great for small batches, but becomes impractical when you make hundreds of sticks per batch.
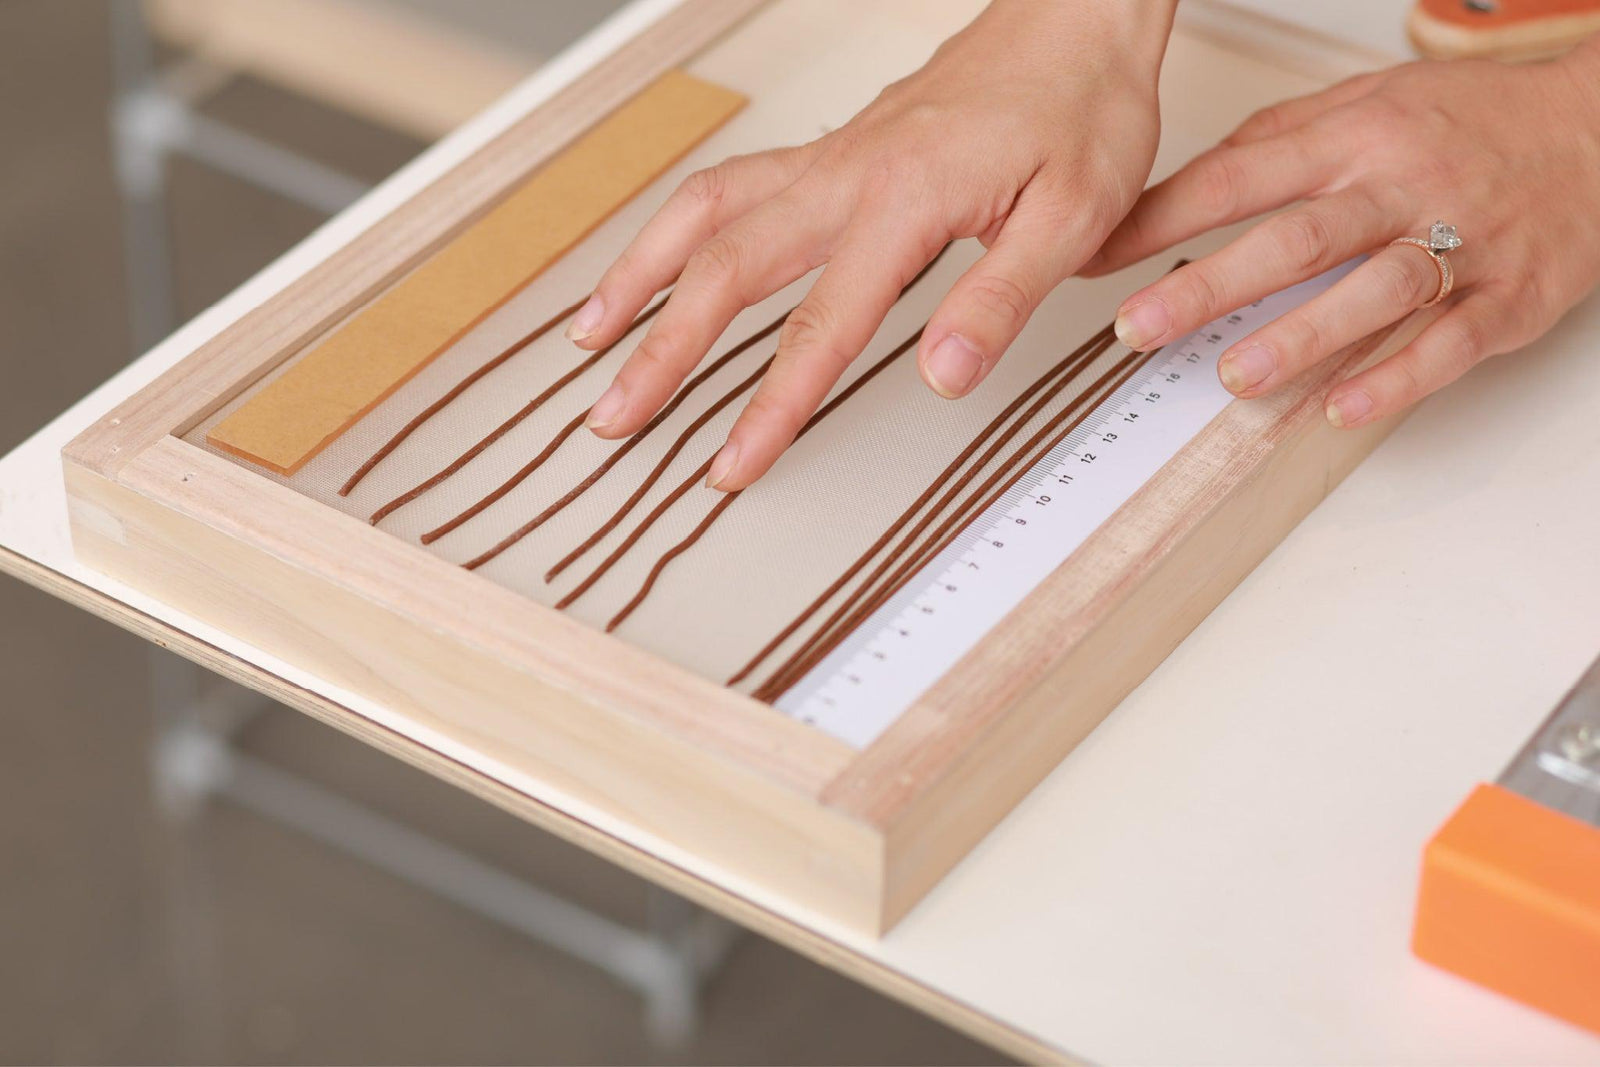
The traditional Chinese way of handling incense sticks is to roll them onto a drying screen as you see in the picture below. The first stick should be pushed right up against one edge of the screen, and subsequent sticks pushed right next to it. A long piece of wood or acrylic, in the shape of a long ruler, is used for this purpose.


If there is enough incense to fill the entire screen from left to right, that would be ideal, as the incense sticks are then naturally kept in place both on the left and the right. If there is not enough, as is the case in my batch below, I put another ruler on the other end to keep all the sticks in place. The final step is to put two shorter pieces of wood or acrylic on the top and bottom of the incense sticks to prevent either end from stick up through the drying process.

As mentioned in step 2, if your incense dough is very wet, this step becomes quick difficult because the sticks will be very sticky, and tangle with each other as you try to move them onto the screen. I’ve definitely made this mistake plenty of times.
Depending on the temperature and humidity of the environment, the incense sticks will take 1-3 days to dry. For me, they dry overnight in the summer, but take 2 days in the winter. To check whether the incense is dry thoroughly, try lighting it. Damp incense will not stay lit for long (but please make sure you are using a recipe that lights normally when fully dried).
A last note: how to make incense sticks burn slower / last longer?
There are some complicated techniques to making incense stick burn slower, such as varying the composition of resins, shells and putting in various additives.
I've found that before embarking on such complicated strategies, there is something far simpler to try. Improving the quality of raw ingredients will lengthen the amount of burning time. So if you want a longer lasting incense, find something that is natural and good quality, or make some.
For the Kin Premium collection, we hand selected all the raw ingredients and blended everything in our studio (with the exception of an incense made in the studio of our incense teacher). We did not make any complicated adjustments for slow burning ingredients, and we did not use any additives. Yet the burn time for each full 21cm or 8.25” stick is quite substantial (even if we say so ourselves), at approximately 70 minutes.
We hope this was a useful guide for you. If you have something interesting to share from your own diy incense making journey, or have any questions about making incense sticks, please feel free to leave a comment below. Enjoy -


Miranda Yen
November 21, 2023
Hi Ashley,
Thanks for the note and letting me know the link doesn’t work! I have updated the link in the article, and here it is also again for you below:
https://kinobjects.com/blogs/news/how-to-create-your-own-incense-recipes
Hope this helps,
Miranda