

Incense waterfall cones – otherwise known as backflow incense cones – often get a bad rap in the incense community. As mesmerizing as they are to watch, their scent is often less so. This is especially true of the of the brightly (ie, chemically) colored varieties I’ve often seen sold on popular shopping platforms.
When we released our original backflow incense cone collection, we spent months looking for a factory that could work with us to make good quality waterfall incense cone. We released our original collection, but were not content to stop there. We wanted incense that smelled more aromatic, burnt for longer, and still had the amazing visual effect.
So finally, after two years of searching, we realized that we could not find a factory to accommodate the incense quality level we were striving for. So, we decided that the best solution was to hand make our own incense cones, finally released as part of the Kin Premium Incense Collection.
A Note on incense cones, incense waterfall cones and incense waterfall burners
Just a note in case the names are not ringing any bells for you: backflow incense burners are often referred to as incense waterfalls, waterfall incense burners or incense fountains. And backflow incense cones are the incense cones which actually make the waterfalls or fountains come to life.
We’ve written a comprehensive guide on the how we think backflow incense cones work and how to use them, so please refer to the article if you have questions along those lines.

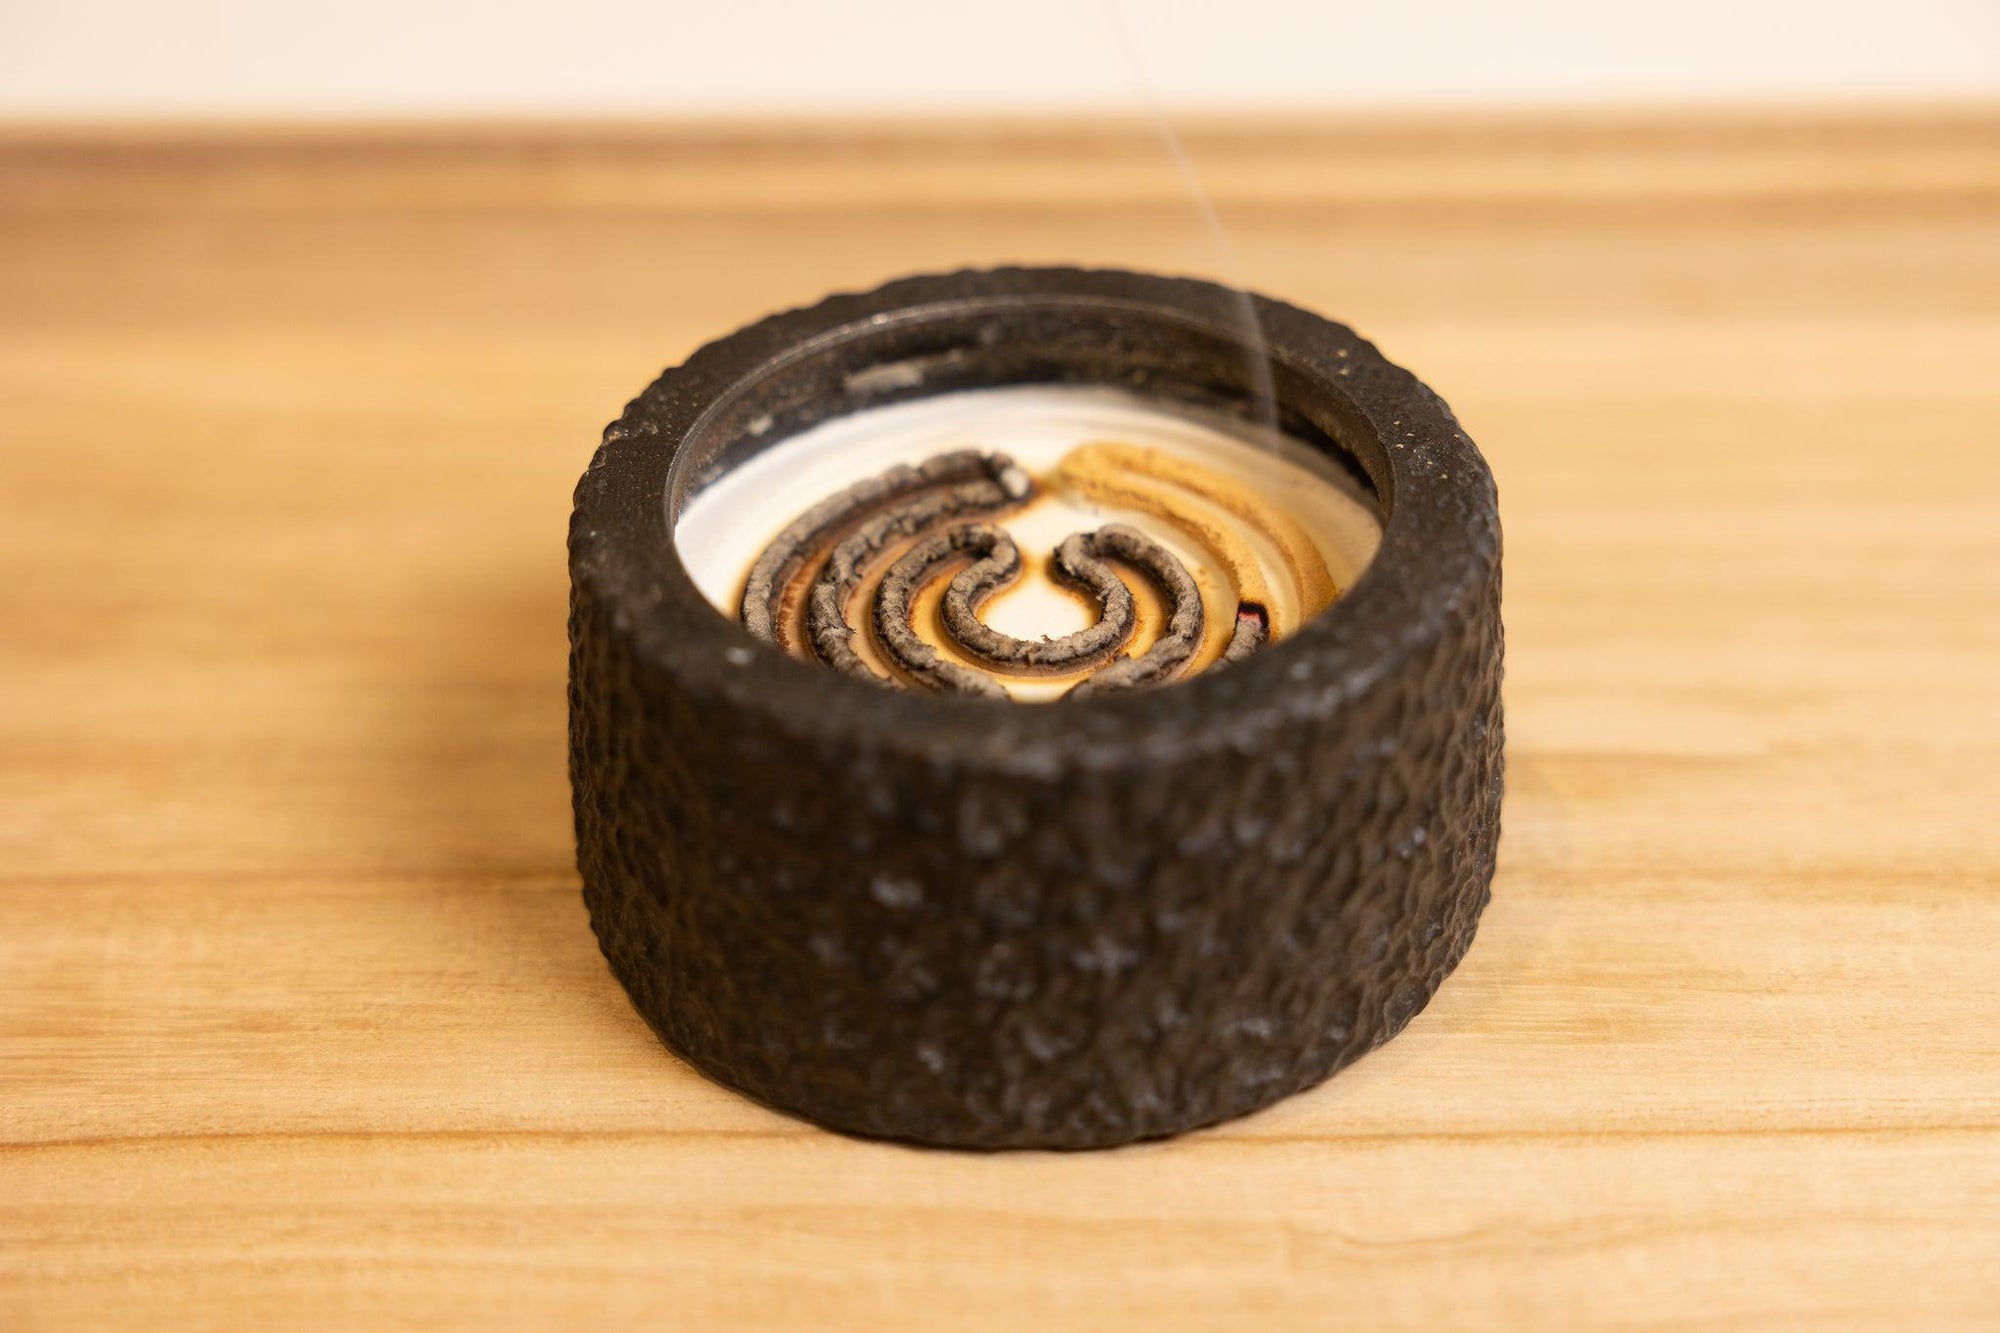
Kin Objects Karst incense waterfall burner
Why do incense waterfall cones often smell bad?
The making of a high quality, all natural incense cone is an expensive affair - each incense cone is several times the weight of an incense stick, so the raw materials cost is also several times higher than an incense stick. They dry much slower than incense sticks due to their shape and weight – for us it can take up to a week for backflow incense cones to thoroughly dry – so the slower production time and the increased amount of space required to dry them also add to costs.
Moreover, incense cones are more difficult to stay lit compared to incense sticks. This is due to the shape - the burning surface becomes increasingly bigger as the cone is burnt. This can require sophisticated tweaks to the incense recipe, and a fairly time consuming process of trialing different formulae.
These cost and time considerations have prompted many incense cone manufacturers to simply opt for low grade, easy to burn ingredients. And as more fragrant woods typically contain more oil, and are harder to burn, the cheaper incense ingredients also just don’t smell very nice. Simply put, this is why almost all of the incense waterfall cones on the market today do not have a pleasant aroma.
Making all natural, high quality incense cones that smell as great as they look
We have already written extensively on the topic of how to make incense sticks, and today we want to take you behind-the-scenes of our waterfall cones. The results of months of prototypes and tweaks, we truly believe that our backflow incense cones are amongst the very best you can find on the market today.
Created from the same formulation as their stick incense companions (some with minor tweaks to ensure their combustibility), the cones feature all natural, high quality ingredients, blended in unique recipes derived from ancient Chinese traditions.
Despite being cone shaped (cones burn much faster than sticks as they have large burning surface areas), our incense cones have solid burn times. We have heard from readers that incense cones they purchased elsewhere sometimes finish burning in as little as 5 minutes; this is most definitely not the case with ours, where burning time for is approximately 25 minutes.
They are also as pleasing to smell as they are to watch. Watching an incense waterfall from the Kin Premium collection is a truly indulgent ritual for the senses - watch the incense smoke set dreamily across the landscape of the incense burner, as the rich smell gently fills the nostrils.
How to make incense cones – Supplies and materials
Please prepare the below items to make your incense:
- Glass or metal bowl
- Metal spoon or chopsticks
- Nanmu powder (otherwise known as Tabu No Ki or Makko powder)
- Various wood, resin, herb or floral incense powders (for beginners, we suggest starting simple: sandalwood and 2-3 other types of powders is enough; use resins such as frankincense or myrrh sparingly)
Essential oils or no essential oils?
Traditional Chinese incense uses powders only, no essential oils. However modern day Chinese incense makers will often experiment with essential oils, so you can substitute some powders for oils if you’d like.
Incense cone recipes
The principles for making incense cone recipes are the same as incense stick recipes, with two additional points to note:
- The proportion of binder is extremely important, as it is more difficult for incense to form a cone shape and stay in that shape vs a stick shape. You may need to increase the proportion of binder if you’re using a recipe for stick incense. If you’re using a wood based binder like the Nanmu powder (known as kabu no ki in Japanese) we use, 25-30% of the total blend is a pretty safe bet for making it all stick. Experiment from there if you want to reduce the proportion.
- As mentioned previously, cone shaped incense is more difficult to stay lit than a stick shaped incense because the surface area that needs to stay lit gets increasingly larger. The quantity of ingredients which are not easily combustible therefore needs to be carefully controlled. These types of ingredients include resins such as frankincense or myrrh. We’ve encountered many recipes which can burn in a stick form, but will not burn in a cone shape. So ingredients proportions need to be tweaked carefully for cone incense.
A starting structure for cone incense is very similar to stick incense, with the difference being the proportion of binder. You can use the below structure and go from there:
- 55% base powder/s
- 10% Secondary powder/s (to give the incense its distinctive scent/s, can be substituted with essential oil)
- 5% Enhancing or fixative powder/s (to stabilize and enhance the incense)
- 30% Nanmu or Tabu No Ki powder (to bind the ingredients together)
For more details, please refer to our article about traditional Chinese incense recipes.
How to make incense cones:
UPDATE
This was originally written with only photos, but we have now created a video for those of you who prefer to learn this way. Here is the video, but if you prefer step by step details and guidance, please read on below:
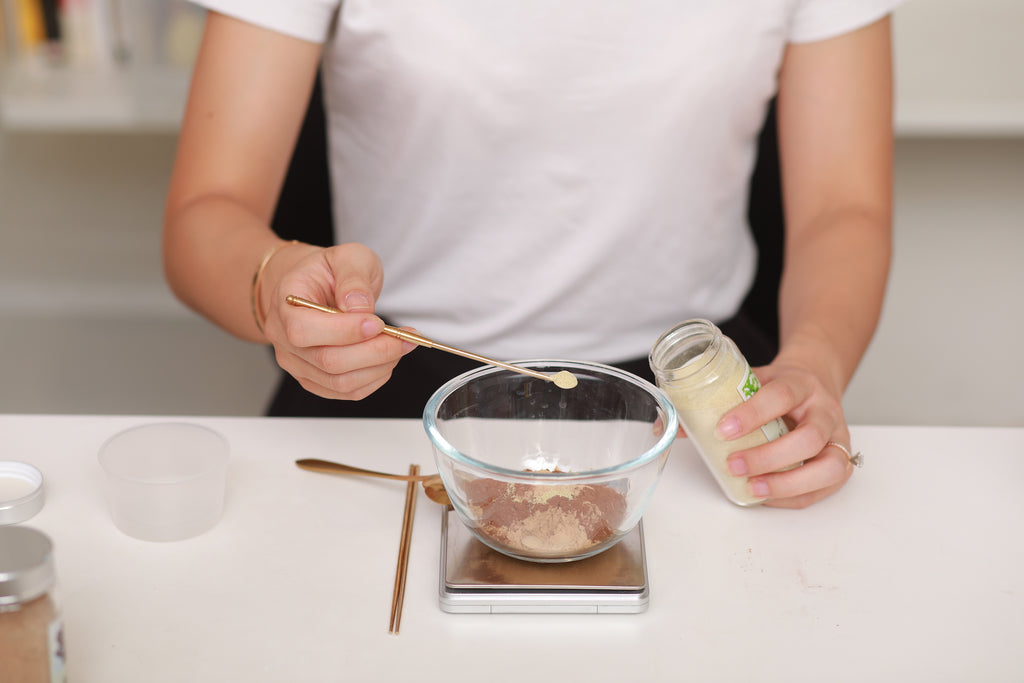
Step 1: Blending natural incense ingredients and makko powder
Unlike incense sticks, there isn’t a standard size for incense cones – you can make them in different sizes and in various shapes. So we suggest that you start with about 25-30g/1oz of incense powder in total, and once you’ve worked out how big/heavy you like your cones, you can then calculate more accurately how much powder you need based on how many cones you want to make. Bear in mind though that you won’t get full use out of the incense dough, and there will always be some left over at the end, so make some allowance for this.
Once all the natural powders and essential oils have been measured and added together into the bowl, it needs to be thoroughly mixed. We typically use a spoon or chopsticks. The idea is to mix everything until it looks well blended, and then mix some more.

Step 2: Kneading the incense making dough
Add water slowly to the mixed incense powder, and mix thoroughly after each addition of water. Once the powders form clumps in the bowl, I tend to start working it with my fingers. This step is probably quite familiar to people who make any type of bread. The incense dough needs to be kneaded like bread dough to ensure that that it is all bound together and consistent in texture.
A note here: whilst the amount of water in the incense stick dough needs to be very carefully controlled, it does not need to be for incense cone dough. In fact, I like to make the dough quite moist for cones, as it makes it easier to shape it in the mold.

The incense dough should be very fragrant at this stage, and I love picking it up to smell it. The aroma of the dough should give you a good idea of how the final incense will smell like, although some more fragrance maturation is yet to happen.
It is also ideal to allow the incense dough to rest for some period of time after the initial kneading. The length of time can vary from a few hours to overnight, but be careful – with all natural incense dough, mold will form if the environment is humid and the dough is left too long.
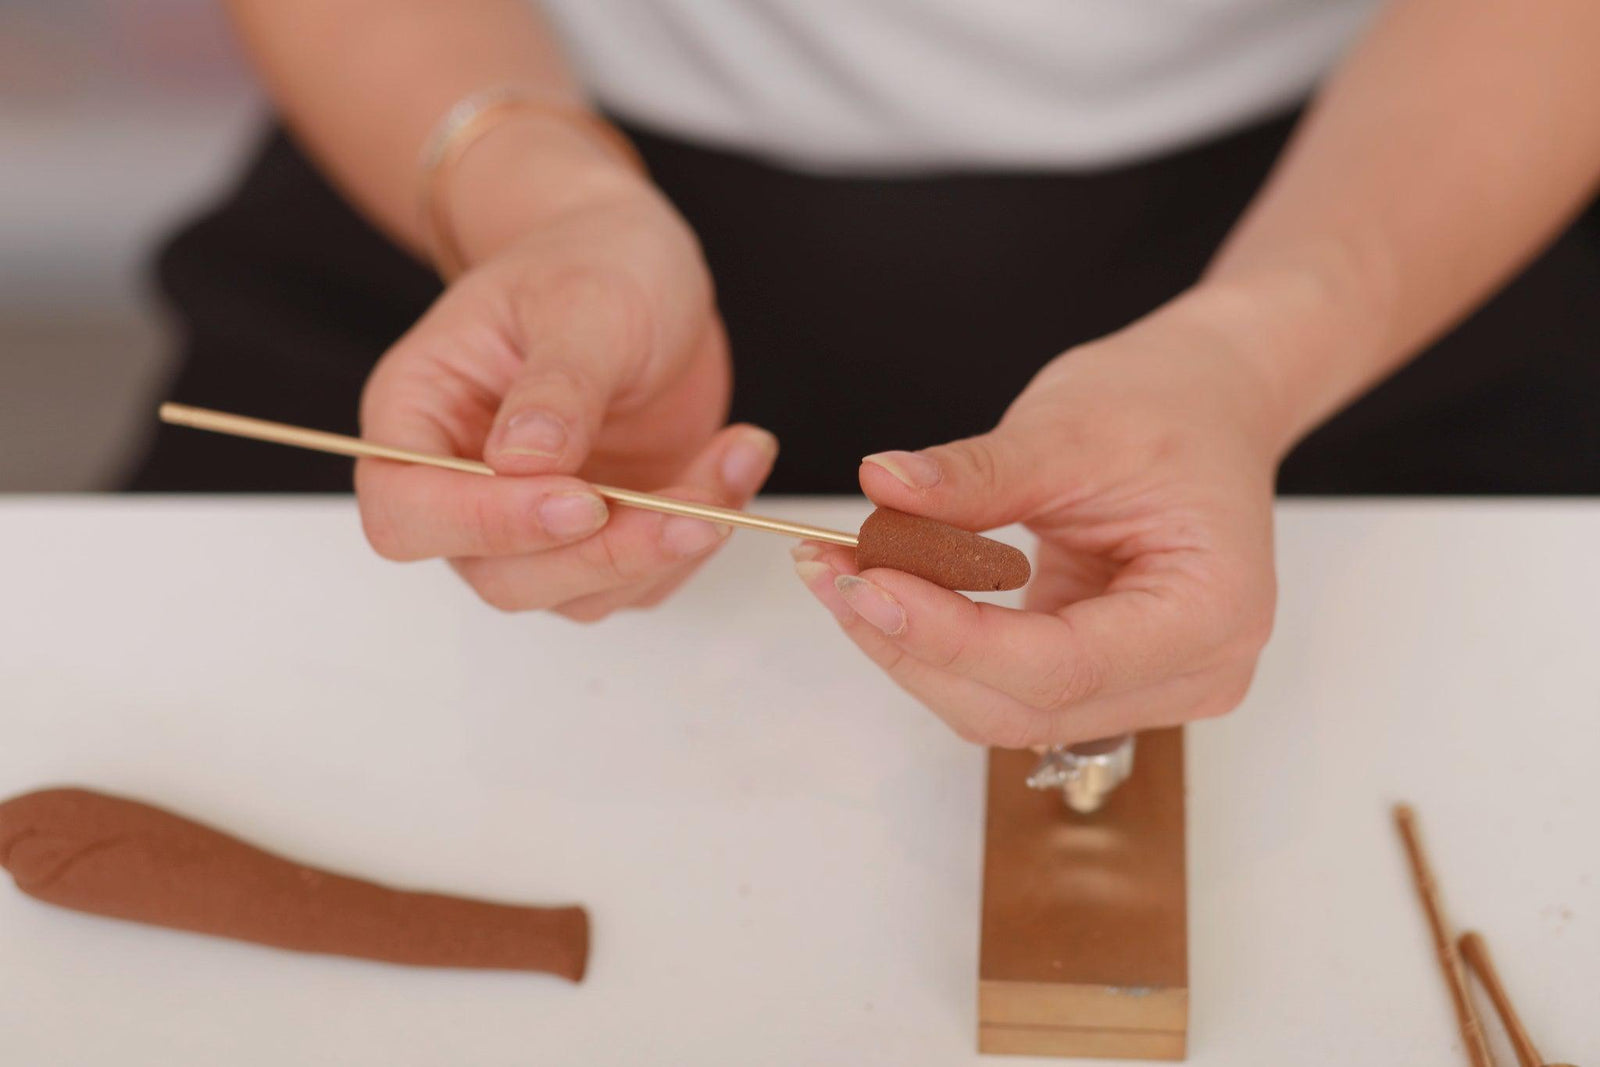
Step 3: Making incense cones
Whilst the previous two steps are quite similar to making incense sticks, this last step is where things are quite different. Once the incense dough is ready, divide it into several portions so that you can work on one portion at a time. Roll the portion you’re working on into a long, thick noodle shape. This is then ready to be cut into pieces to make individual incense cones.
We’d suggest that you don’t make the individual cones too big, as the bigger and heavier they are, the more difficult they are to dry and light. Maybe start with a small cone that is about 1g (0.035oz) in weight, and if that all goes well you can make adjustments to the incense size from there.
Hand shaping incense cones
You can hand shape small pieces of dough into incense cones. That is just to roll the dough into a shape you like, and then letting it dry. For personal use there is absolutely no problems making the cones this way.
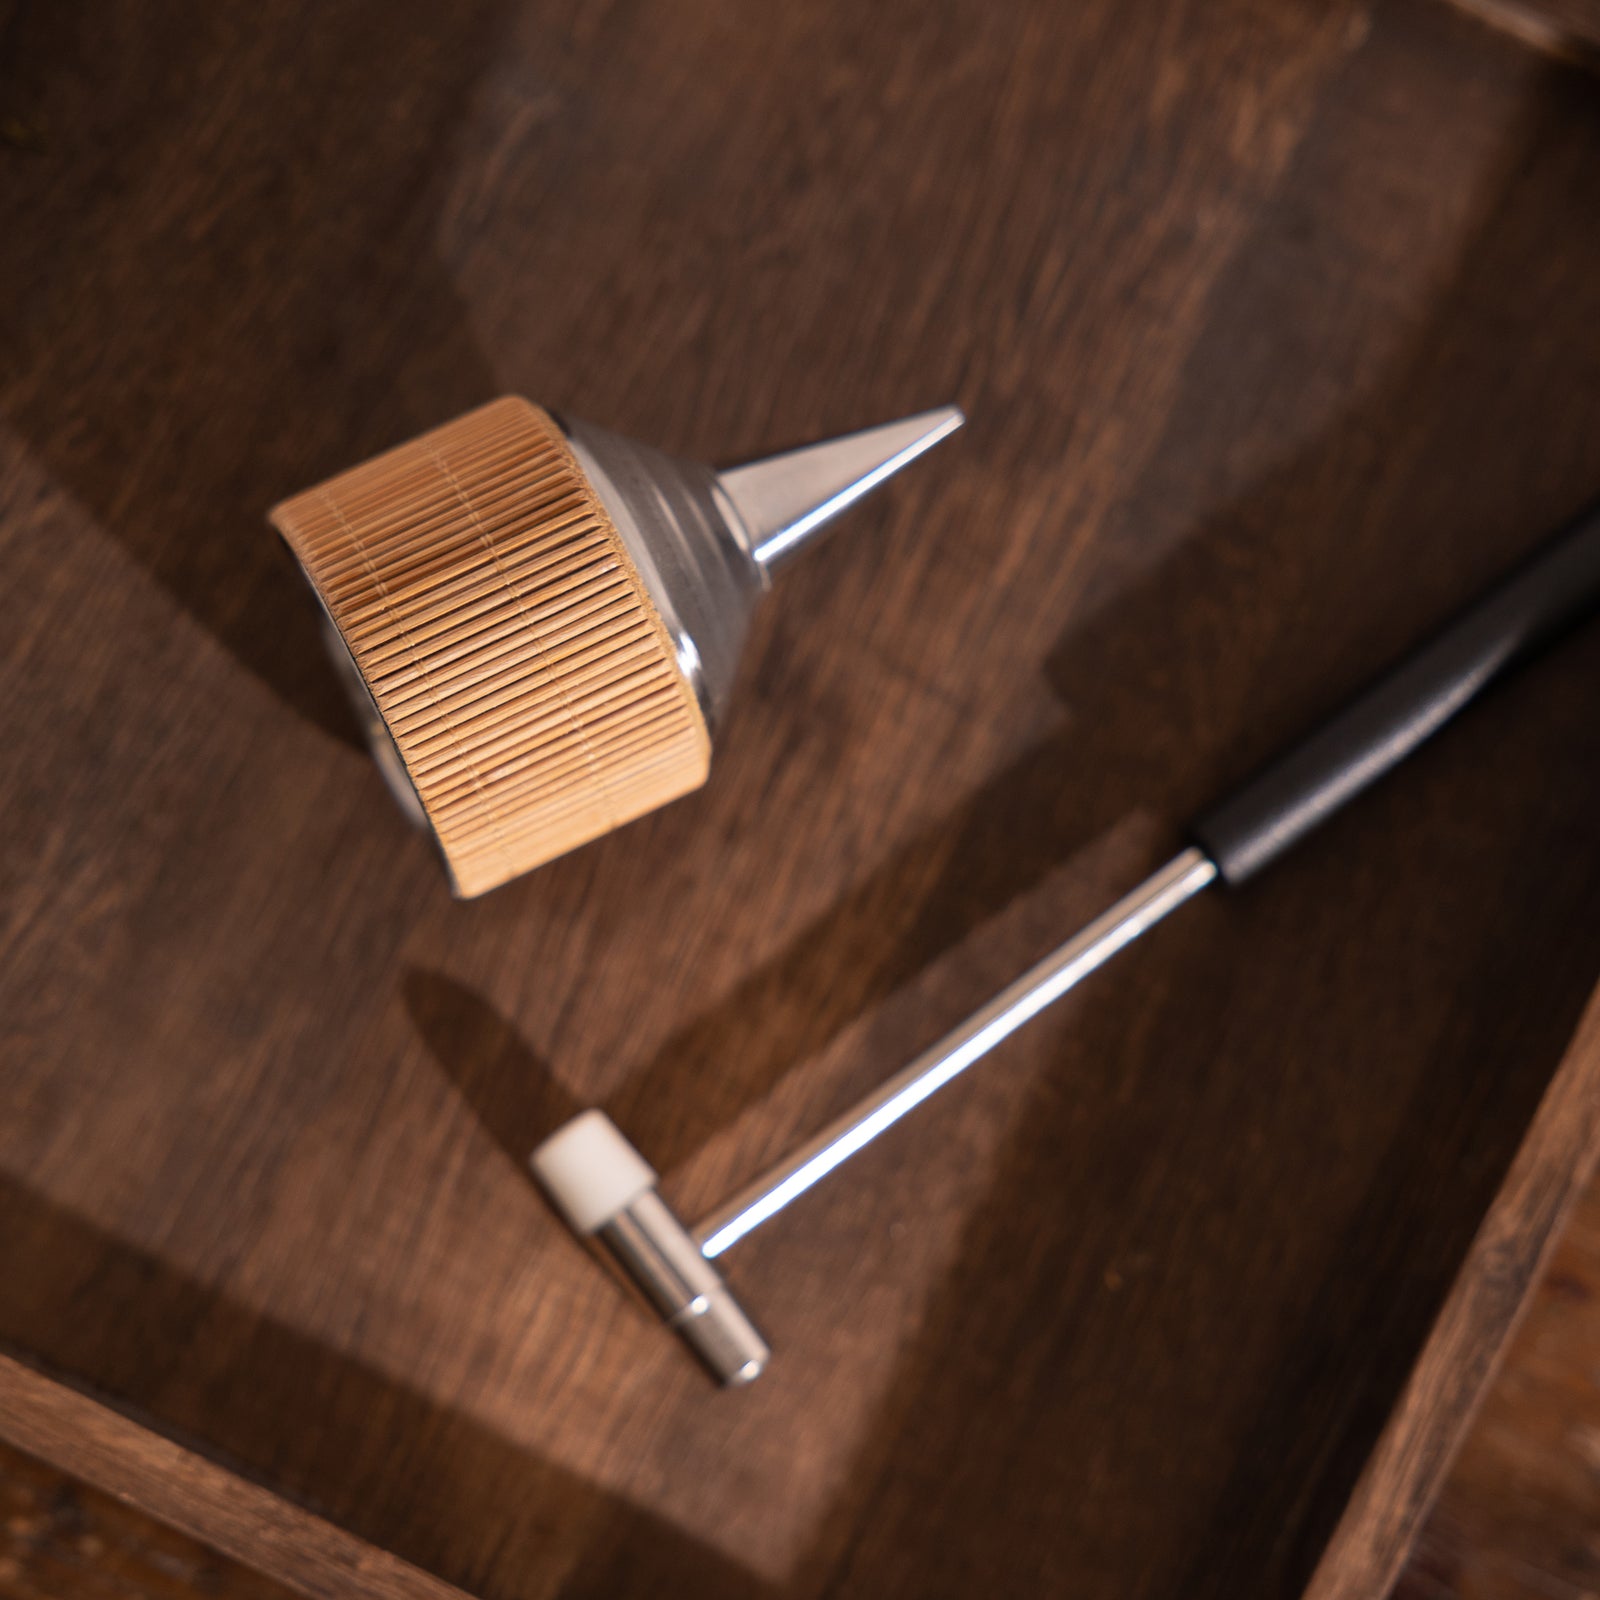
Using a mold to make incense cones
If you don’t want to hand shape, or want the cones to be more evenly sized and shaped, a mold can be used. If you’re using an incense mold like us, simply cut off a piece of incense dough similar in size to the mold, put it into the mold, and push the dough down firmly to ensure that it fills up the mold and forms the shape of the mold. We like to use chopsticks or the rounded back of a spoon to do this.


After you’ve pushed down on the incense dough that’s already in the mold, you might find that you need to add some more if the mold is not fully filled, or cut some off if there is some that are sticking out of the mold.
If you want to make a standard incense cone, then the cone is finished once you’ve shaped it. Simply open the mold and take out the cone for drying.
Step 4: An additional step for making waterfall incense cones (or backflow incense cones)
To make waterfall or backflow incense cones, make sure that you do not completely fill up the mold as you would for a standard cone. Leave a small amount of empty space at the top of the incense mold.
Then take a stick, and insert it into the center of the incense dough to form the bottom center hole, ensuring it doesn’t go all the way through the tip of the incense cone. I find that it helps to pre-measure the length of the hole we want to make, and then mark that onto the stick. This way, I know to stop once I reach the mark, which allows me to make a hole that is deep enough, yet does not break the tip of the incense.

You’ll find that the small space initially left at the bottom of the mold gets filled up once you inert the stick into the center, so leaving this small space helps to create the perfect size for the final incense.
To remove the waterfall incense from the mold, I usually insert the stick into the center of the incense cone again, then gently loosen the cone. Having the stick in the cone as it’s being loosened helps to protect the cone and the center hole from being flattened in the process.

Step 5: Drying the incense cones
Drying incense cones is a simpler but much longer process than drying incense sticks. Once the cone has been removed, it can be placed onto a mesh drying screen, and set to dry.
You can see in the picture below that the incense cone on the right actually has a small crack near the top. Minor imperfections like these can be touched up at this stage of the process, for small cracks I often just give it a squeeze and smoothing over with my fingers.

Depending on the temperature and humidity of the environment, as well as the size of the incense cones, they will typically take about a week to dry. In a humid environment in the winter, my incense cones have taken 10-14 days. So it can be quite a slow process.
To check whether the incense is dry thoroughly, try lighting it. Damp incense will not stay lit for long (but please make sure you are using a recipe that lights normally when fully dried). However, if after 2 weeks your incense cone still does not light, that likely indicates a problem with the recipe itself, and you will probably need to go back and tweak the recipe before trying again.
A last note: handmade incense cones may be harder to light
In our experience, handmade incense cones are harder to light than most commercially bought incense cones. As I mentioned previously, commercial incense cones tend to use low grade wood powder that contains little oil and is easily combustible, so they are easy to light. Handmade incense cones like the ones in the Kin Premium collection contain superior quality ingredients with higher oil content, so they may take a few tries before fully lighting up. This is also the reason they burn slower and last longer.
We hope this was a useful guide for you. Incense making is a meditative process, so we hope that you get the opportunity to try making some yourself, be it sticks or cones. And if you have something interesting to share from your own diy incense making journey, or have any questions about making incense cones, please feel free to leave a comment below.
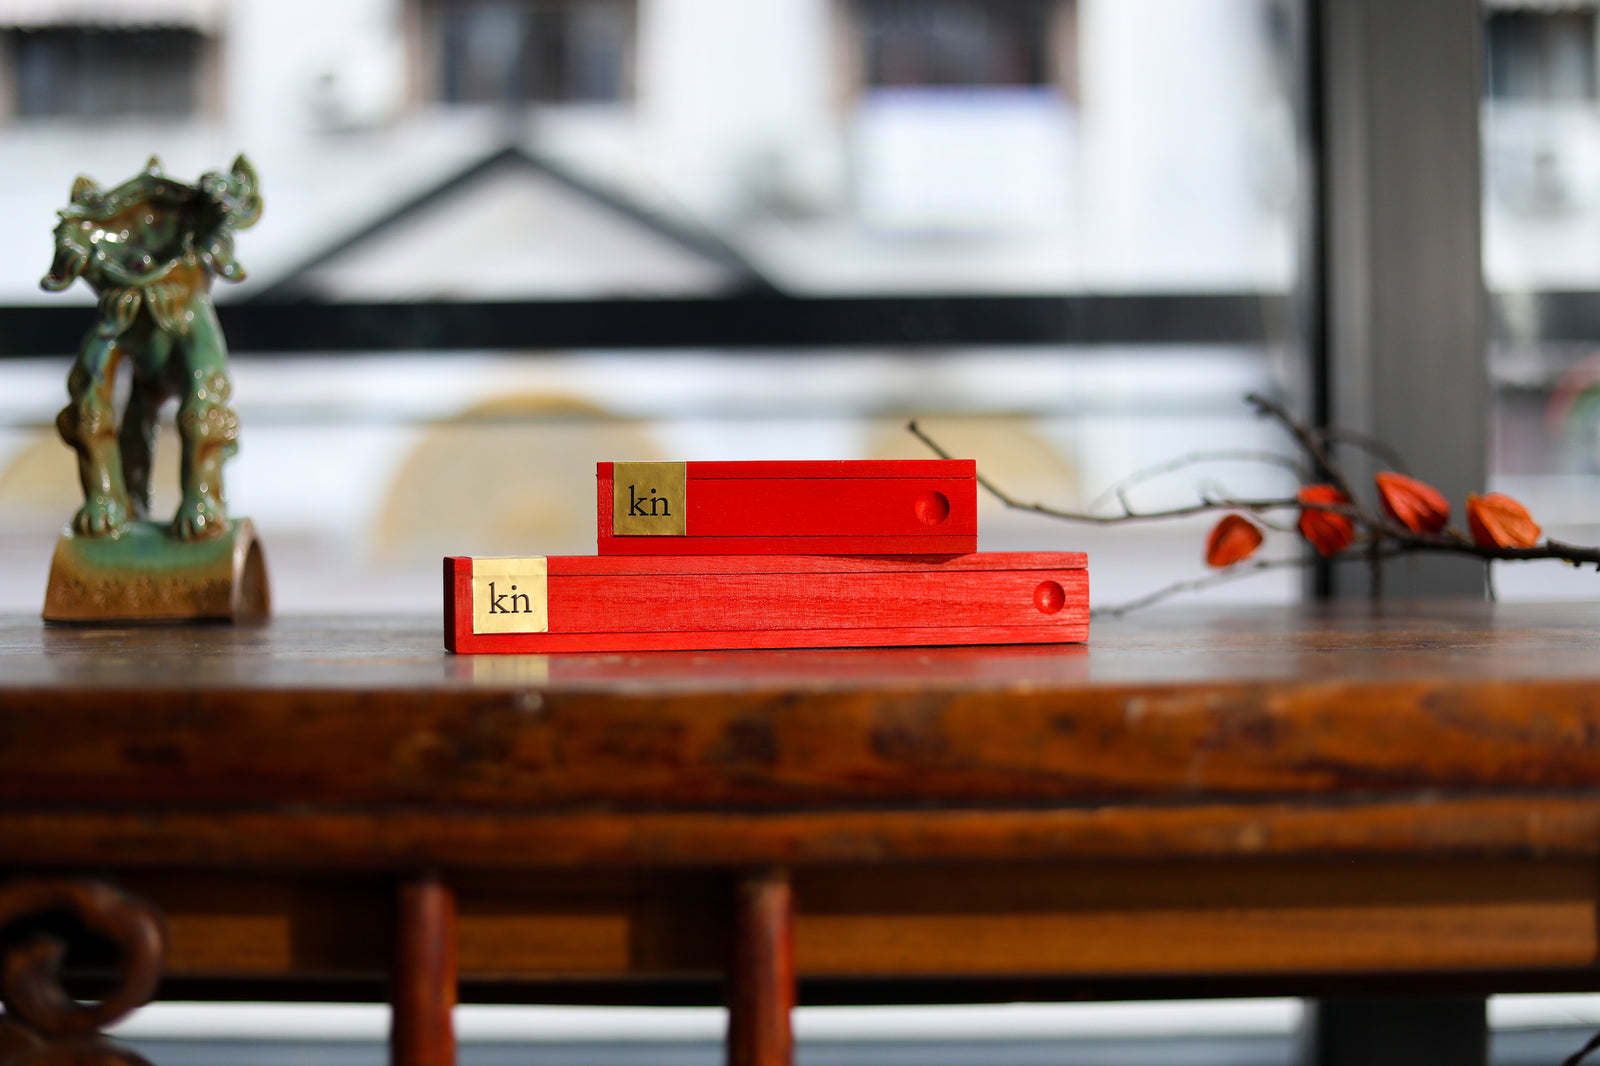
Lastly, we'd love to invite you to browse our collection of unique backflow incense holders to pair with your incense.
Enjoy -


Miranda Yen
November 03, 2022
Hi –
Aloeswood (agarwood) is an easy fixative to use for beginners as you can’t really go wrong with it. You can use the recipe we provide in our article on traditional Chinese incense recipes as a basis and go from there (the link is in the article here). Hope this helps!
Miranda